一、说明
让docker容器支持调用cuda
二、安装
官方文档:https://docs.nvidia.com/datacenter/cloud-native/container-toolkit/latest/install-guide.html
三、cuda镜像
# GPU性能基准测试
docker run --rm -it --gpus=all nvcr.io/nvidia/k8s/cuda-sample:nbody nbody -gpu -benchmark

> Windowed mode
> Simulation data stored in video memory
> Single precision floating point simulation
> 1 Devices used for simulation
GPU Device 0: "Turing" with compute capability 7.5

> Compute 7.5 CUDA device: [NVIDIA GeForce RTX 2060]
30720 bodies, total time for 10 iterations: 51.268 ms
= 184.076 billion interactions per second
= 3681.515 single-precision GFLOP/s at 20 flops per interaction


# 使用cuda运行ollama容器
docker run --gpus=all -d -v ollama:/root/.ollama -p 11434:11434 --name ollama ollama/ollama
注意:镜像可以在docker hub的nvidia或者pytorch中搜索
四、dockerfile构建自定义cuda镜像
1. dockerfile构建ubuntu+jupyterlab
Dockerfile
# 使用 NVIDIA CUDA 基础镜像
FROM nvidia/cuda:12.1.0-cudnn8-devel-ubuntu22.04

# 设置环境变量
ENV DEBIAN_FRONTEND=noninteractive

# 更新系统并安装必要的依赖
RUN apt-get update && apt-get install -y \
    python3 \
    python3-pip \
    && rm -rf /var/lib/apt/lists/*

# 安装 JupyterLab
RUN pip3 install -i https://mirrors.aliyun.com/pypi/simple/ jupyterlab

# 安装 pytorch
RUN pip3 install -i https://mirrors.aliyun.com/pypi/simple/ torch torchvision torchaudio

# 创建工作目录
WORKDIR /app

# 暴露 JupyterLab 默认端口
EXPOSE 8888

# 启动 JupyterLab
CMD ["jupyter", "lab", "--ip=0.0.0.0", "--port=8888", "--no-browser", "--allow-root"]
2. 构建镜像
docker build -t cuda-jupyterlab .
3. 运行容器
docker run -it --gpus all -p 8888:8888 -v $(pwd)/app:/app cuda-jupyterlab
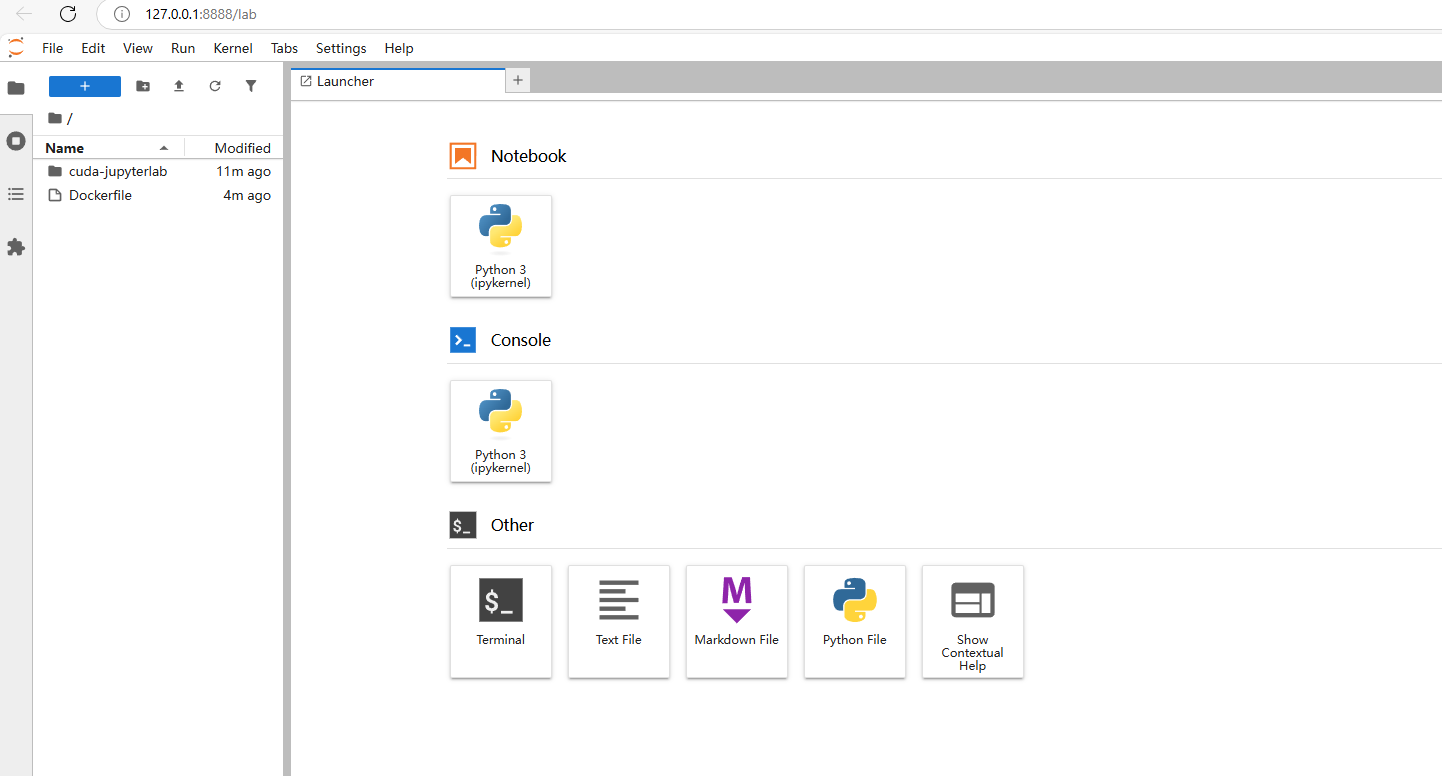
4. 访问
容器启动后,在浏览器中访问 http://localhost:8888,你会看到 JupyterLab 的登录页面。在终端输出中找到 JupyterLab 的访问令牌,将其复制到登录页面的输入框中,即可登录 JupyterLab。
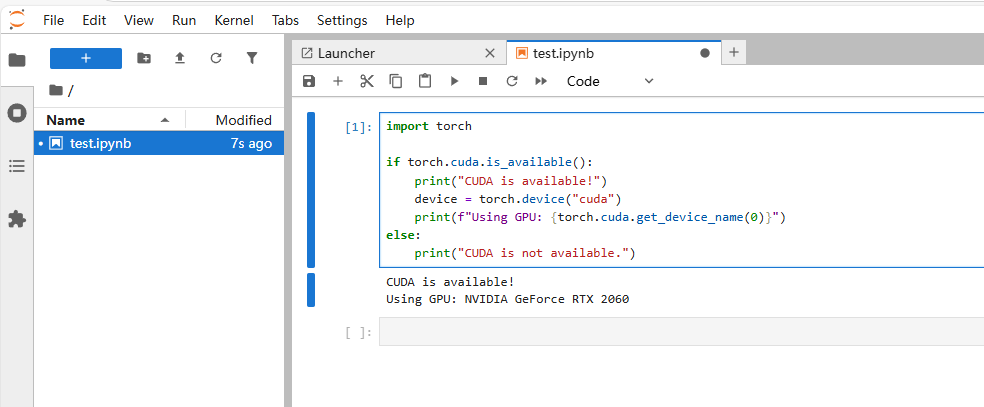
5. 验证 CUDA 支持
在 JupyterLab 中创建一个新的 Python 笔记本,运行以下代码来验证 CUDA 是否正常工作:
import torch

if torch.cuda.is_available():
    print("CUDA is available!")
    device = torch.device("cuda")
    print(f"Using GPU: {torch.cuda.get_device_name(0)}")
else:
    print("CUDA is not available.")